The craftings of a shadowy figure...
Showing posts with label Iron Craft. Show all posts

Thursday, September 8, 2011

Shear Style

This past week Iron Craft posted the challenge to come up with something that could be entered into a State Fair craft competition.

Have I mentioned that I'm in my sister's spare room...I sure as hell am not in a position to make jam.
Ok, I have no idea how to make jam, but that's besides the point.

I also have no idea how to cross-stitch, knit or crochet.

So I was at a loss.  A serious loss.

Between consulting one of my crafty cousins, drawing 2 pages of ideas and a couple of days research online, I came up with this...

Why City Slickers Shouldn't Shear Sheep...


I know, I'm not right...

Tuesday, May 24, 2011

Don't Sit Too Close...

I'll admit, I think I prefer to be near people when I craft because I have a hard time getting started.  When I'm in a group I can build off of what someone else is doing over here and tweak an idea someone over there put down...

This week's Heritage challenge at Iron Craft has been no different.

I was plugging away - researching Heraldry.  (I feel like I need a PHD to master that!)  And my sister sits next to me and sketches out her own.  Just:  Blam! Done. Check this out.

Gah...

But -- I got another idea from the sketch she made right across my page of notes.

I'm going to use her sketch to decorate her Graduation gift!

SO, the next time I sit next you to craft -- be careful.  You may see that quick sketch show up again.  Bwooo-ha-ha-ha-ha! ...AhAhAhem...  

Thursday, May 5, 2011

Suitable For All Ages

I've been trying to find a simple way of creating something I had when I was younger and it has proved to be a challenge.  To begin with, I didn't/don't know what they are properly called.  Secondly, I wasn't interested in going about it the 'correct' way.

You caught me...I found a tutorial.  It was a lovely tutorial with pretty pictures.  But I don't want to sew a zipper, or a pocket.  Ok, I wasn't looking forward to sewing such a detailed project at all - I wanted to cheat.

After several ideas that were probably more difficult and time consuming than the very tutorial I was avoiding, I gave myself a 'Keep It Simple Stupid' talking to.

This is what I came up with:

Buy and wash a pillowcase(or grab an old one).  (The pillowcase I purchased was a set and it was the fancy hypo-allergenic kind.  That's not necessary but I think the plastic lining in the pillow may have helped keep the dye from seeping through to the other side as it dried.)

Decorate said pillow case(s).  Decorate the bottom half of the pillow case as the top part will not be seen.


I tried the fabric dye in a spray bottle.  It is a bit unwieldy - I'd advise wearing paint clothes or an apron when spraying.  However, the dye came off of my hands pretty quickly.  Also I'd only use this type of paint/dye if you are looking for a flowy kind of design.  As you can see the dye seeped under my tape and bled around my design.  I was going for a watercolor look so it's ok but I still may go back and do some touching up though.


Fold the top of the pillow case down into the pillow case itself.
(With your design facing you, open your pillowcase.  Take the top corners and pull them down into the open pillow case until they meet their prospective inside bottom corners.  Straighten any wrinkles so that the top two corners are now folded neatly inside of your pillow case.)


Stuff pillow case(s) with batting or a pillow form or an old pillow that needs some dressing up.  I filled the decorated side with batting and tucked the undecorated edge back down over the stuffing.  You could add some velcro or stitch in some tiny snaps at the bottom of the pillow if you would like to secure it better.  (My pillow case is the type with a zipper on the top edge so once I stuffed the pillow with batting I zipped the case close and smoothed the zipper along the bottom seam of the case to hold the batting in place.)


If you use batting as I did, it may be necessary to straighten the lumps behind your design.


Your pillow case should now have a snug little pocket.


I would be a great spot to hide a little note for someone or tuck away your super-secret candy stash -- though I wouldn't advise that.  I'm using mine to hide the PJs that would other wise be tossed on my bed.


So in case you were looking for a no-sew PJ pocket that is suitable for someone over 5, you're welcome.
Actually, this would make a good sleep-over craft.  It was easy and with some simple prep work it's quick.  And as you can see from my super paint job -- well it's something a 5 year old could do.

In all honesty, this was easy enough that I may never try that lovely tutorial...

Thursday, April 14, 2011

What the *Peep*?!?!

The Iron Craft challenge this week was Peeps.

Ah yes, the sugar coma disguised as a sparkly hand-held farm animal.

The possibilities were as plentiful as the crystals coating the catatonia causing confections.


Unable to decide, I crafted several versions.

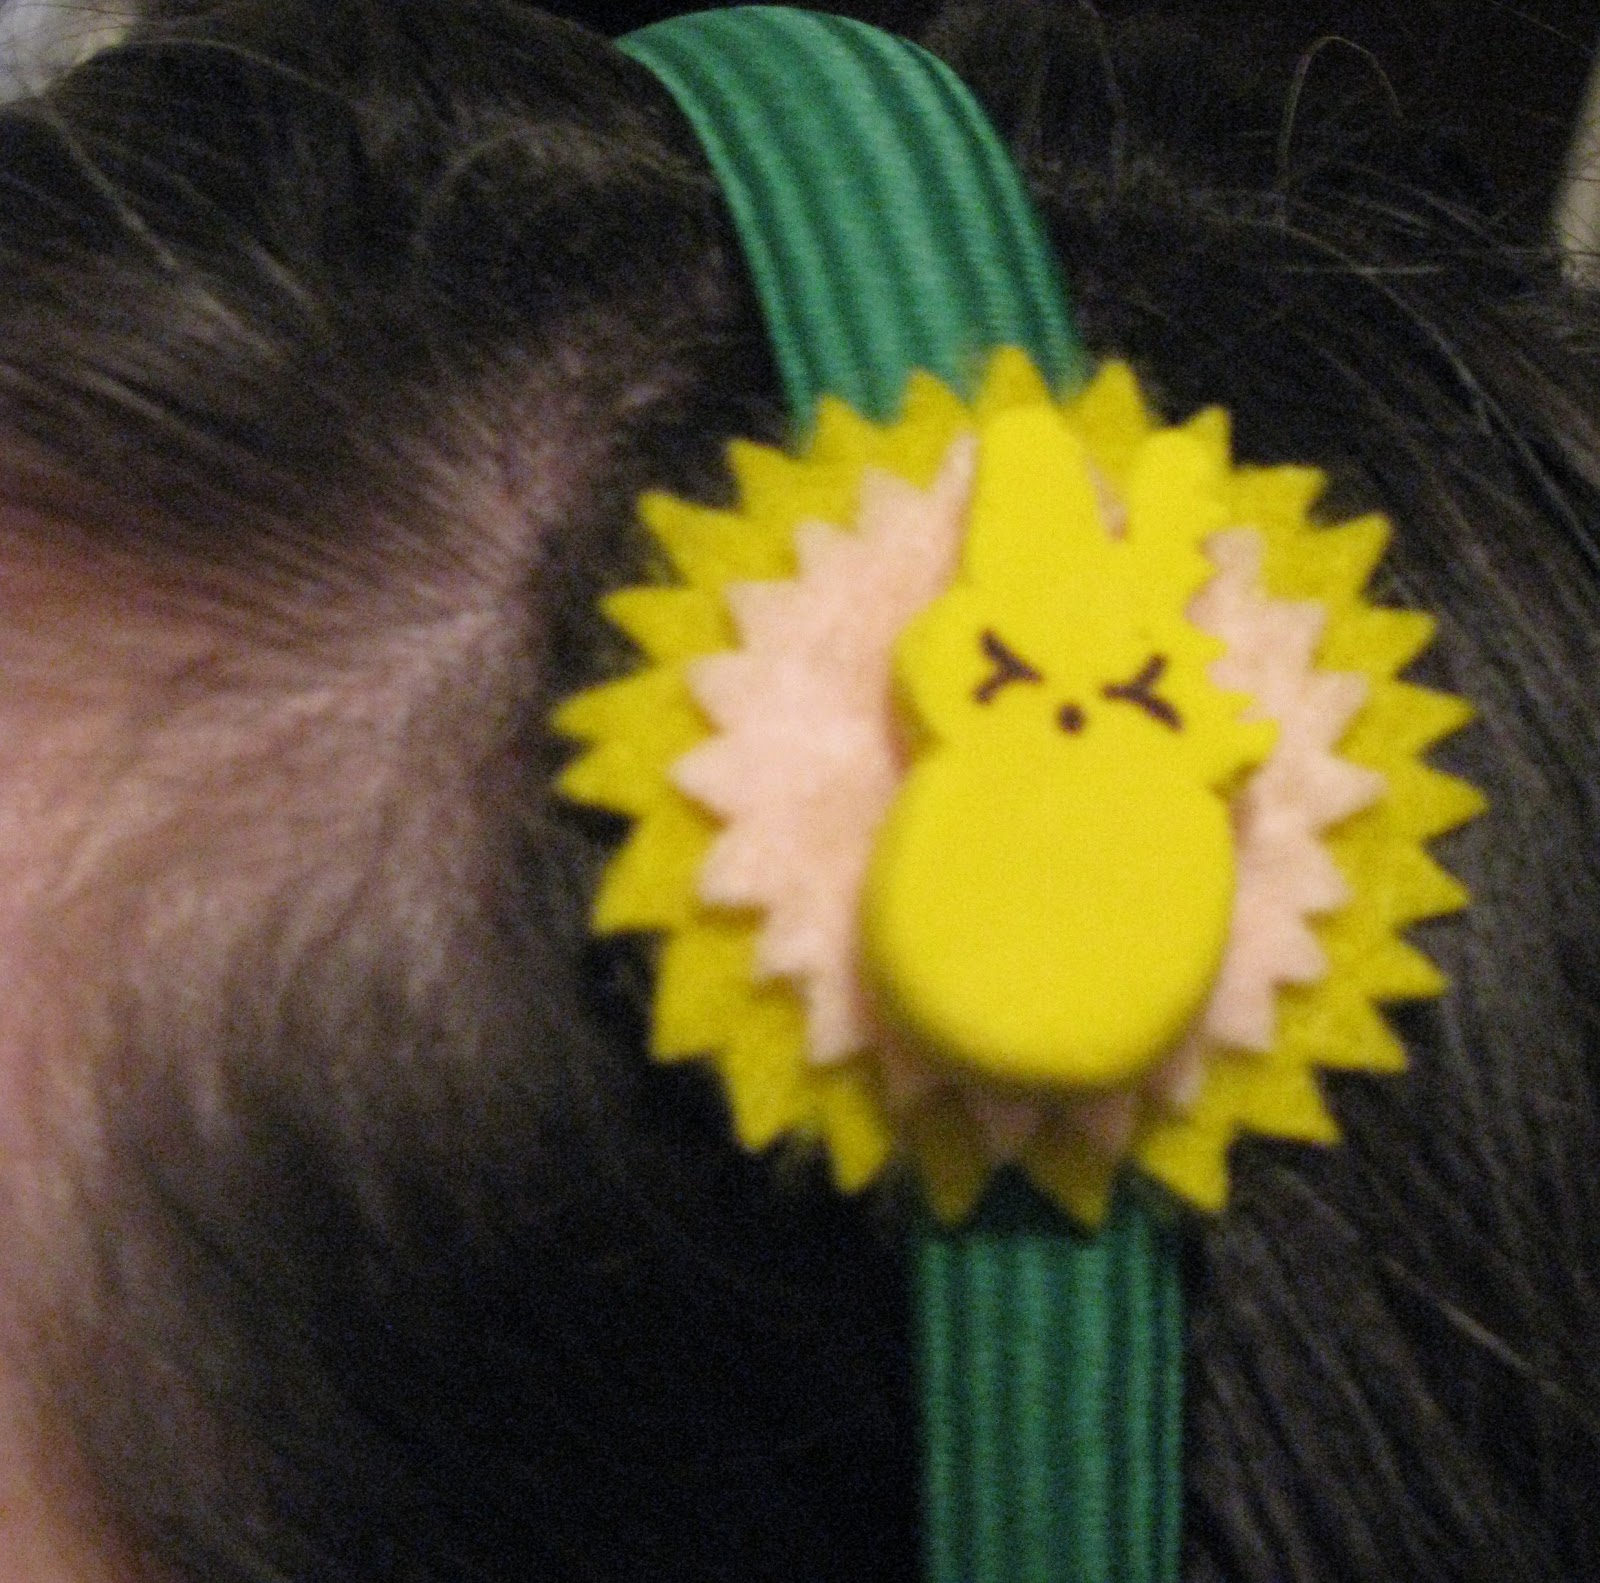
The Peep Bite Headband comes from the pleasure in only biting a chunk out of the Peep rather than stuffing the dead-eyed dessert into your mouth whole.

(At least for the 1st Peep of the season.)
 

The bite mark was cute but it needed something more.


The face helped.  But it was still going to be a bit plain on it's own.
So I gave it some flair...


But the minimum wasn't enough - so I threw on a little more.


And et viola'! this little Peep is ready for the big day.


Thankfully there is no need to worry about this little sucker melting!

Wednesday, March 23, 2011

Confucius Say ~

Cracking open my fortune cookie from yet another dinner out of a box, I grimaced.  According to Confucius, not even he thought I had a chance of finding this skirt.  


"People who don't know where they are going usually wind up somewhere else."  


Apparently I needed a better lucky charm.  It had been weeks and not a peep from this deadbeat dame.  A few graveyard shifts at the Warm-up wasn’t giving me anything either.  This skirt might as well have been a ghost.  
 
I wasn’t feeling like a ghost story, at least not telling one.  I was looking forward to getting paid.


I was going to have to do a stakeout.  I hated stakeouts.  Terrible locations, limited resources and usually winding up somewhere I didn't intend to go.  


No use fighting it - it was time to pack.

Thursday, March 17, 2011

What Luck of the Irish?

Artistically speaking there is a school of thought that, "How can you know if you've gone too far if you haven't gone far enough".

Everything I touched this week has been a specter of that expression.
I have been near madness multiple times with everything I touched this week:  a wedding gift that won't be wrapped, my Iron Craft projects(both of them), even just trying to keep track of my Michael's coupon.

So, I can't speak of the luck of the Irish, even though I'm only partly Irish.  I would have thought that counted for something.  However, the only luck I seem to be having is in not catching anything on fire...yet.

Example Numero Uno: Iron Craft 11-project 1.
The theme was green.  No I didn't want to think 'out of the box'; I figured I'd enjoy making something kitschy for St. Patrick's day.  Besides you can only wear the party-store Shamrock earrings and the plastic ring that came off of last year's cupcake for so long.

I dug back to the 1960's Disney gem, Darby O'Gill and the Little People for inspiration.

Of course I like that movie!

There is a dark and stormy night and a Banshee and the Coiste Bodhar make oh so creepy appearances.  True, it scared the crap out of me when I was little but there was always something cool about that part.


So for this project I grabbed a T-shirt from Goodwill.  And scoured online for decent Darby O' Gill images.
So far so good.  I even found a screen-shot from an extra that was a Disney badge looking graphic that says, "I caught the King of the Leprechauns".


This really should have been easy...

But I didn't think to flip the image so that the writing would come out correctly.
I figured that little gem out AFTER printing the main image for the back and the 'badge' for the front.  The badge however, was small enough that I could print a redo on the same sheet.

Have no fear!  I had 1 piece of Iron-On paper left...

Too bad the printer ran blue streaks down the right side of the sheet.


*^#%*^&@&*(#$*%$^
I mean "Thats ok, I'll just cut away most of the green! It's a green t-shirt after all."


Yah!!!

Then I touched the iron.

I touched the iron to the design after it took FOREVER to get the cut away pieces to stay down.

*#$^%&#%~*^@#%@! ~
I mean, "Thats ok, it'll be cute with the vintagey-worn look.  Hmm, maybe not, I'll just use the left over backing and the iron to go back over that rough spot, & that spot, & that spot, & that spot."


I think I saved it though.  At this point I'm so tired of staring at it that I'm pretty convinced that I saved it.

But I being a mere mortal, was not content to screw up just one project.  Oh no, next I offer you frustration - uh, project # 2.  A ring in kind.

I found this cool ring at Target on clearance.


And immediately I thought, I could just take some of those Darby O'Gill pics and print them on shrink plastic, cut that little sucker out and glue it to the ring.


Well...it kind of worked.
 When they were in the oven, I got nervous because they curled up.  So I freaked and thought, well, I'll try those again later.  But I read about the curling problem and found that I probably didn't give them enough time.  So back in they went.

They turned out must better than at first but they were a little too big.  So another batch was printed.  This time the Banshee came out a bit too dull.  But in the 2nd run they shrunk right down.

King Brian however continued to curl, even though I tried the hint to place a piece of parchment paper over the shrink plastic to help keep it from rolling up.  I eventually got that piece to lay flat but noticed a small split in the side.  I don't know if that was from my trim job or my attempt to get that piece to lay flat.

But these pieces were definitely a better size.  So one of these puppies was getting a fancy ride.  So I checked them both out on the ring.  I decided I should color the Banshee's edges - the white was a bit too stark.  While I fixed the edges I decided to brighten her back up.


I gave them both another look on the ring but was still torn.
Unable to decide a clear front runner, I Modge Podged them both.

Head: : Desk.

The Modge Podge on King Brian smeared some of the ink.  He looked like a Gaelic Line Backer, the green smeared under his eye on one side.  Again, with some finagling I think I saved it.


So after a lot of fixes I realized that all these little boo-boos are just another set of tools.  Tools that won't take up any room.  Next time, I'll know just how far to go.

I'll know just how far I can push a piece of shrink plastic and just how far away my iron needs to stay away from an exposed transfer.

And until I decide whether to make a King Brian ring or a Banshee ring I at least have a cool t-shirt to go with that ring from last year's cupcake.


Wednesday, February 23, 2011

The Winter Film Capital of the World, 1910s

So the Iron Craft Challenge 8 this week was to make something to represent your hometown.  I love where I'm from and when I started planning out my project I realized there were quite a few possibilities to represent my little city.  The Blue Angels started here.  We are surrounded by historic sites like the wreck of the Maple Leaf, Harriet Beecher Stowe's House not to mention multiple forts and historic sites.  And of course there are quirky things like our 7 main bridges and being the home of the Elvis hit, Heartbreak Hotel.

I really loved the idea of using charms so I wouldn't have to pick just one thing.

But out of all the vintage pictures of hotels, parks & statues I ended up finding a completely different direction.

Film.

Yep, film.  The Winter Film Capital of the World to be exact.


Well in the 1910's.


So I made a charms out of Shrink Plastic with some of the images I was able to find from our techni-color past.


Honestly, I loved using the shrink plastic but it can be a little tricky.  The instructions let you know up front the images need to be lightened which can make cutting the images down tricky.  (The cut pieces below were not my lightened images but my full color 1st run.)  You can't use the images at full opacity.  As they shrink the ink gets too thick and in some cases blurry and it may not dry even after baking.


But the other issue is figuring out just how small your image can go and still be legible.  A lot of the images I found really started out too small to use for this project since they were smaller than an inch.  I ended up using stills and posters that were around 2 inches to start.


Everything turned out.  I used a bracelet that was already in my stash and removed a few of the beads already there.  I left a few since I felt like it still needed a little sparkle.


All in all I have a cool little piece of hometown history as a new bauble.  There is something really cool about that.


Wednesday, January 26, 2011

The Warm-Up

He was a referral from Archer and Spade.  It was a skirt case.

There were too many cases of molls that followed some GI and ended up needing some dough and getting caught up with the wrong types.  So they threw those peeper cases to me.

This time the chick found herself working some flophouse and then making a clean sneak after a late shift.  Of course I was in.  Of course I needed to know where to start.

He dropped a napkin on my desk for the Warm-Up: a hole-in-the-wall coffee joint known to cater to Chippys and Punks.  As soon as this Joe left my office I knew he was over his head.  There was always more to the story in this business.

Saturday, January 15, 2011

Allez metier!

"So now America, with an open heart and itchy fingers, I say unto you in the words of someone's uncle: Allez meiter!"

I have accepted the thrown gauntlet.  I have joined Iron Craft.

I found out about it after the first round.

For the second round I bit off more than I could chew and I didn't get anything in.  The second round was a draft excluder and when I finish mine, I'll show you.

So now that I have stepped up and joined I realize that I am going to miss some of my deadlines but I have to take everyone of those challenges and let you know what happened.

So here we go...